01 November 2026
How to Prepare an MDF Cutting List for Cabinet Parts
How to Prepare an MDF Cutting List for Cabinet Parts
A cabinet drawing shows what you want to build. A cutting list tells the workshop which individual parts you need. If the list leaves out quantities, board thickness or the meaning of a dimension, someone has to resolve those gaps before cutting can begin.
To prepare an MDF cutting list, give every part a reference, state its material and dimensions, and connect it to an agreed drawing. The example below shows how to organise that information for rectangular cabinet components. It is a communication example, not a cabinet design or a set of dimensions to copy into your own project.
Decide what the dimensions mean first
Ask whether the workshop wants raw cut sizes or finished component sizes, including any agreed edging. Write the answer at the top of the list. Keep one convention throughout: a shelf recorded at its finished width should not sit beside a side panel whose width silently excludes its edging.
Do not deduct an assumed edge thickness or add a saw-blade allowance yourself. Ask who will make any required conversions, then record that agreement. The size of the component you want and the workshop's cutting calculations are different pieces of information.
Build a list that can be checked against the drawing
Put the order details above the rows
Give the list a project name, date, revision and contact person. State the units once in a prominent place and use them throughout. Label both dimension columns; on the drawing, show which direction each follows.
For example: project Hall Cabinet; list revision B; drawing HC-01 revision B; all dimensions in millimetres; L and W follow the arrows on the drawing. In this example, sizes describe the requested finished components. The workshop must confirm that convention before the list is released for production.
Name the board and identify each part
Record MDF grade, thickness and the agreed product reference, where applicable. A note saying only “MDF” leaves the material specification unfinished. If you have not selected the board, mark it for discussion instead of presenting the list as ready to cut.
Use stable part IDs such as S01 for a left side and S02 for a right side. Separate parts that need different faces or edge treatments, even when their dimensions match. The panel cutting service overview explains how cutting connects with subsequent edging and finishing.
See how three example rows read
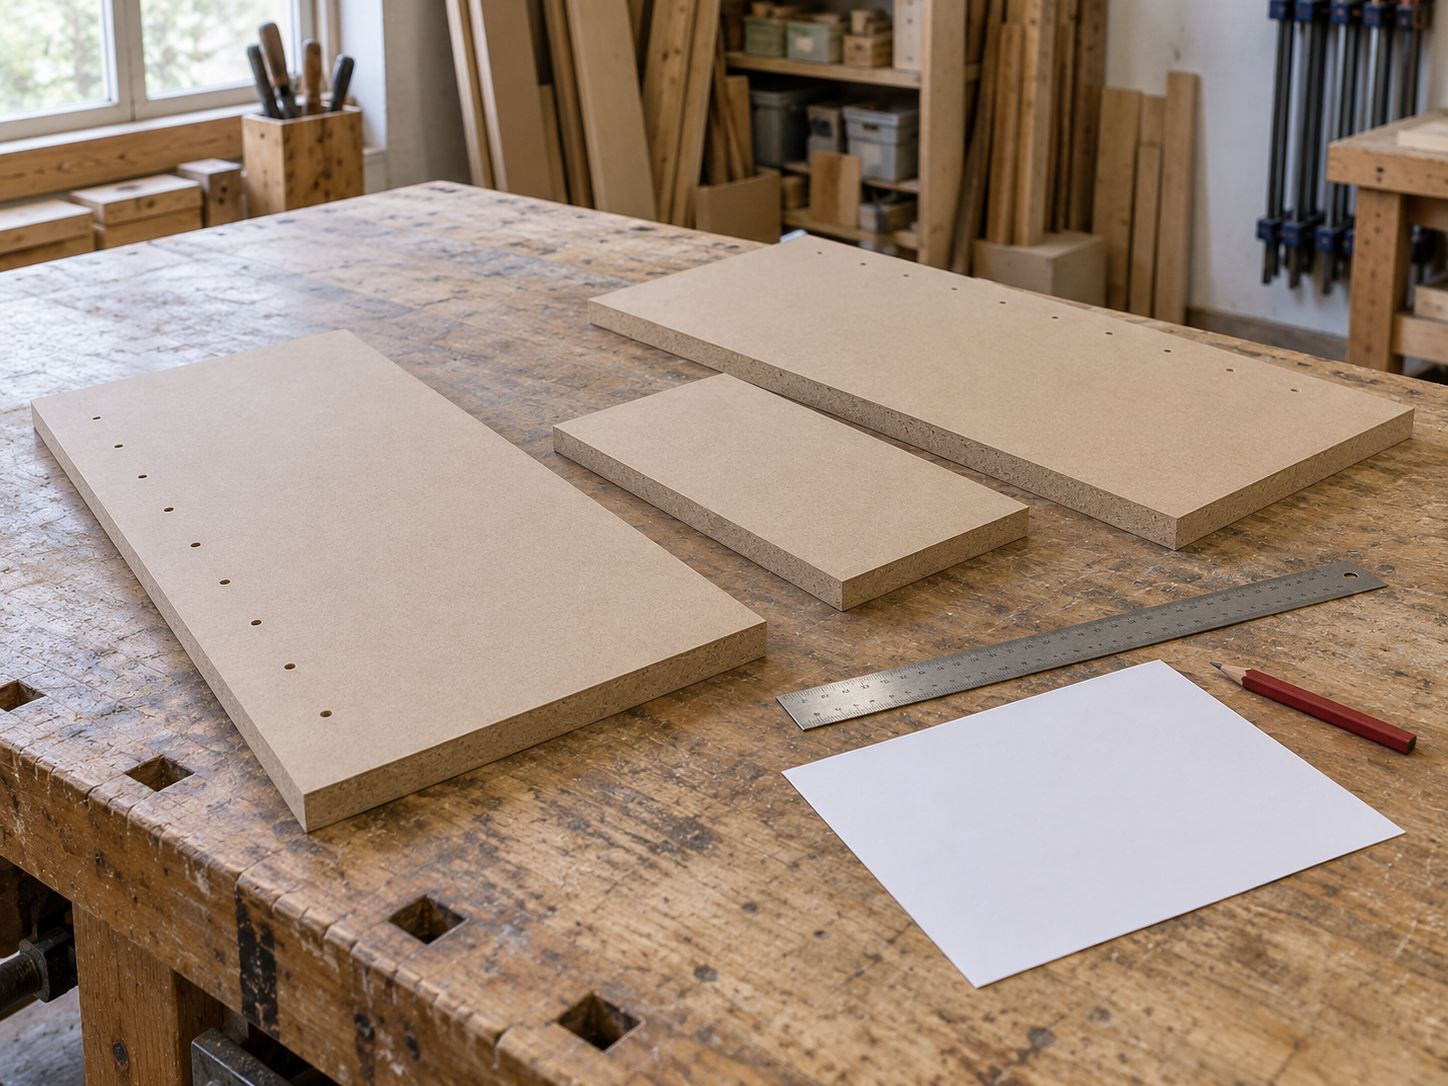
These illustrative entries share material reference M1: 18 mm MDF, with its precise grade and product identified in a separate agreed specification. They show three components, not a complete cabinet or an assembly-ready design.
- S01: left side; quantity 1; L 720 × W 500 mm; material M1; face and edge notes on detail S01.
- S02: right side; quantity 1; L 720 × W 500 mm; material M1; face and edge notes on detail S02.
- SH01: shelf; quantity 1; L 564 × W 480 mm; material M1; face and edge notes on detail SH01.
Make face and edge notes unambiguous
Show the reference face on each part sketch. If orientation matters, add an arrow rather than relying on the words “front” or “long edge”. A left-hand and right-hand component can look identical in a list while needing different treatment.
Agree edge codes with the workshop and include their key. For instance, A–D could identify four edges around a sketch viewed from Face 1; those letters are an example, not a universal convention. Record the chosen treatment against each relevant edge. The edge banding overview provides background if edging forms part of the order.
Check quantities and unresolved details
Count physical pieces, not drawing views. The three example rows total three parts. In your own list, check repeated shelves, paired sides and any spare components explicitly requested. Do not combine rows merely because their dimensions happen to match.
Read every row back against the drawing. Resolve blank dimensions, conflicting material notes and uncertain edge requirements. Keep drilling or shaped details in separate, clearly referenced drawings; a rectangular cutting list alone does not define them.
Send one current version for confirmation
Ask which file format the workshop can use. Send the list, matching drawings and material specification together. Distinguish an enquiry draft from a production-approved list, and identify anything still awaiting agreement.
If a dimension changes, issue a dated revision and say which earlier version it replaces. Request confirmation that the revised set has been received and whether the change can still be accommodated. An updated attachment is not proof that work already under way has changed.
Turn your drawings into a clear enquiry
Your final check is simple: can someone identify every piece, its quantity, its material and the meaning of its dimensions without guessing? Agree any required tolerances and inspection points with the workshop rather than borrowing figures from an unrelated project.
Spraybox offers panel cutting and edge banding. Email your cutting list and drawings to Spraybox to discuss the specification, file format and scope before production is agreed.