09 November 2026
How to Approve a Colour Sample Before Your Kitchen Respray
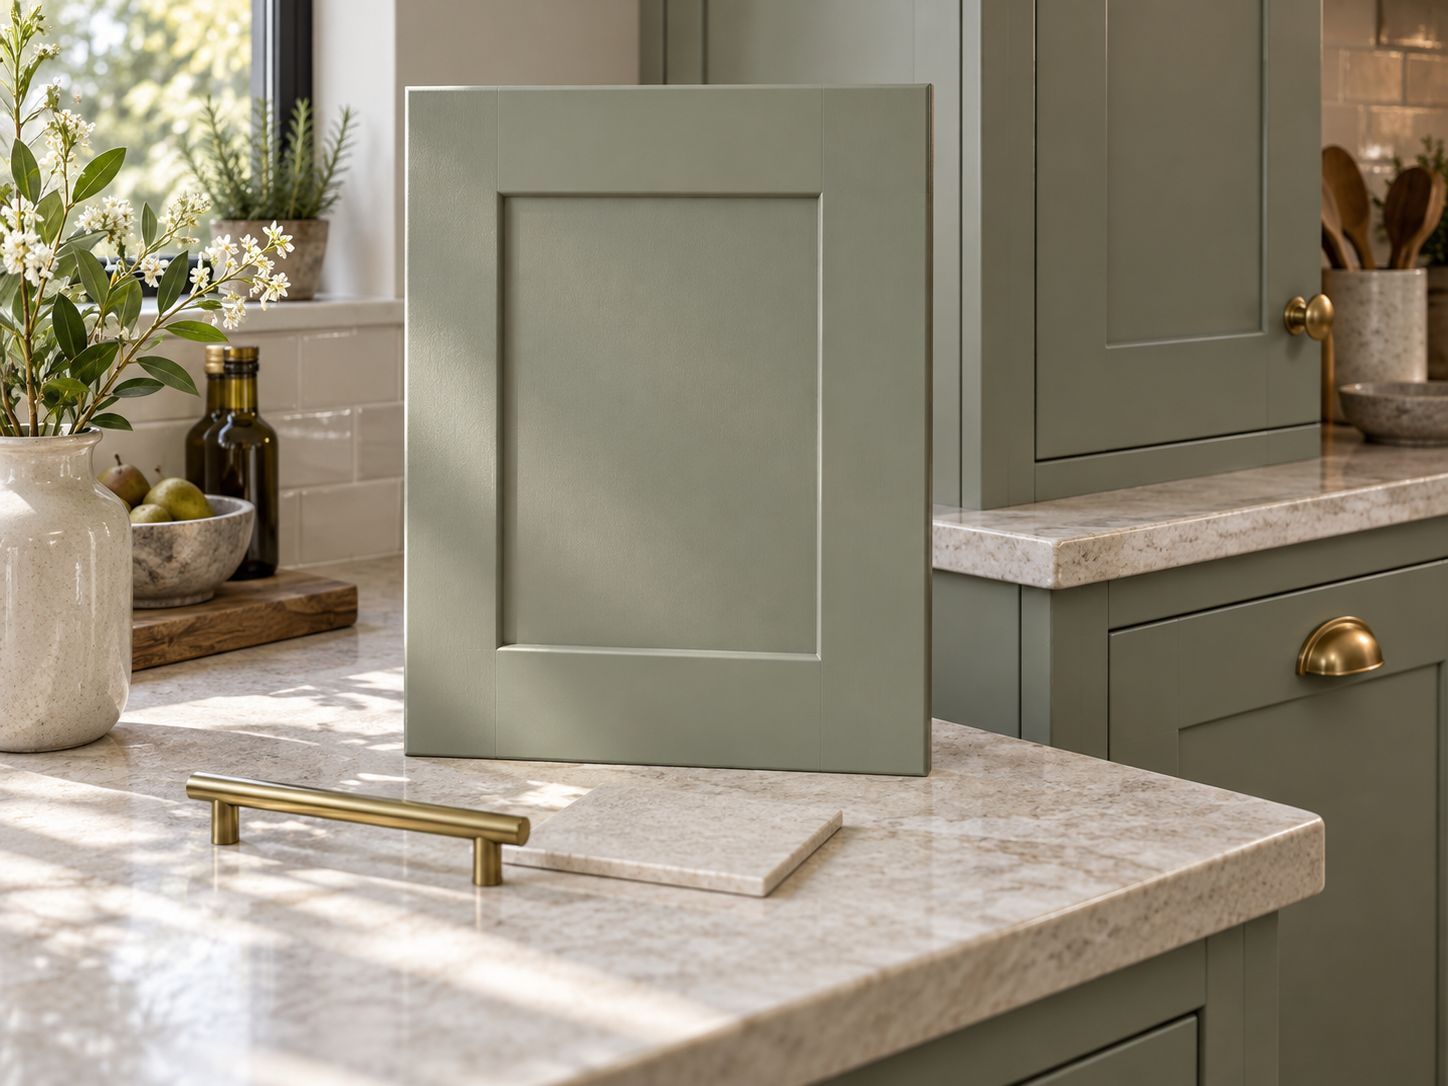
How to Approve a Colour Sample Before Your Kitchen Respray
Before a kitchen respray goes into production, make sure everyone is approving the same physical sample. A colour name in an email can identify a starting point, but it does not record the sample, surface, sheen or parts you have actually agreed.
A clear approval record before your kitchen respray links those decisions together. The sequence below helps homeowners and designers check a chosen plain colour and leave a clear record. For the wider project stages, see our guide to kitchen cabinet spray painting.
Agree what the sample is meant to represent
Tell the finisher whether you are matching an existing item or working from a named colour reference. Then agree what will be sampled and which parts it represents. An existing door, a new replacement panel and a retained cabinet side may need separate discussion. Ask how any differences between the sample and the final components will be assessed before you approve.
Keep the colour reference and the coating specification distinct. Matching a shade associated with a paint brand does not, by itself, confirm that the brand’s paint will be used. Ask the workshop to identify the proposed finish and record the sample that you accept.
Six steps from colour reference to written approval
Identify one reference clearly
Send the full colour name and code, including the reference range where relevant. If an existing object is the reference, identify the exact area to match and discuss how the workshop can assess it. Describe photographs as supporting information rather than the final colour standard. Keep the same reference identifier on subsequent messages so that a later screenshot or similar shade cannot quietly replace it.
Agree a representative physical sample
Ask what sample the workshop recommends for your doors and panels. Agree whether it will demonstrate the proposed coating on a representative surface, and note any limitations. Before reviewing it, check these details:
- Sample identifier and revision.
- Material or component used for the sample.
- Proposed finish and intended sheen.
- Parts and faces the sample is intended to represent.
Record the intended sheen and surface
A sample should make the agreed appearance clear enough to discuss. Record the intended sheen using the workshop’s terminology, and check it against the physical sample rather than relying on a word such as “soft” or “silky”. Ask for clarification if the written description and the sample seem different.
Where MDF doors are involved, our overview of professional MDF finishing explains the broader material context. Keep this approval focused on the finish proposed for your particular components.
View it in the kitchen’s usual lighting
Look at the physical sample beside the worktop, splashback and other fixed finishes that will remain. Check it upright, as a cabinet door will be seen. Dulux’s colour sampling guidance also recommends checking samples under changing light conditions. Include:
- Daylight at more than one time of day.
- The kitchen’s normal evening lighting.
- Positions where doors will sit in light and shade.
Resolve changes and retain the reference
If the result is not right, explain what you see and where you see it. “Looks too warm beside the worktop in the evening” gives a clearer starting point than “please improve the colour”. Then agree the next sample and keep the record unambiguous:
- Give a changed sample its own revision and state which earlier version it replaces.
- Agree who retains the approved physical reference and how both parties will identify it later.
Write a specific approval record
An illustrative approval might read: “Kitchen K17: sample S02, revision 2, on the agreed MDF sample panel; plain colour matched to client reference C01; satin finish as shown on the physical sample. Reviewed in the kitchen in daylight and with the usual evening lights. Approved for the listed removable doors and drawer fronts; retained carcasses excluded.”
Add the approver’s name and actual approval date, and ask the workshop to acknowledge the record. Use your own confirmed scope and finish description. Adapt the example to the arrangements confirmed for your project.
Send the approval and keep later changes visible
Before sending approval, check that the sample identifier, revision, sheen and component list agree across the email and project notes. If you change your mind afterwards, tell the workshop promptly and ask it to confirm the effect on the agreed work before assuming the change can be included. A sample is a shared reference; it cannot promise identical appearance under every light.
Spraybox offers kitchen spray painting and colour matching. To discuss your chosen reference and the sample arrangements for your project, email sales@spraybox.co.uk with photographs of the kitchen, the colour reference and the parts you want refinished. Ask which sample and approval details the team needs before production.