13 November 2026
Furniture Respraying Quotes - Which Photos and Measurements to Send
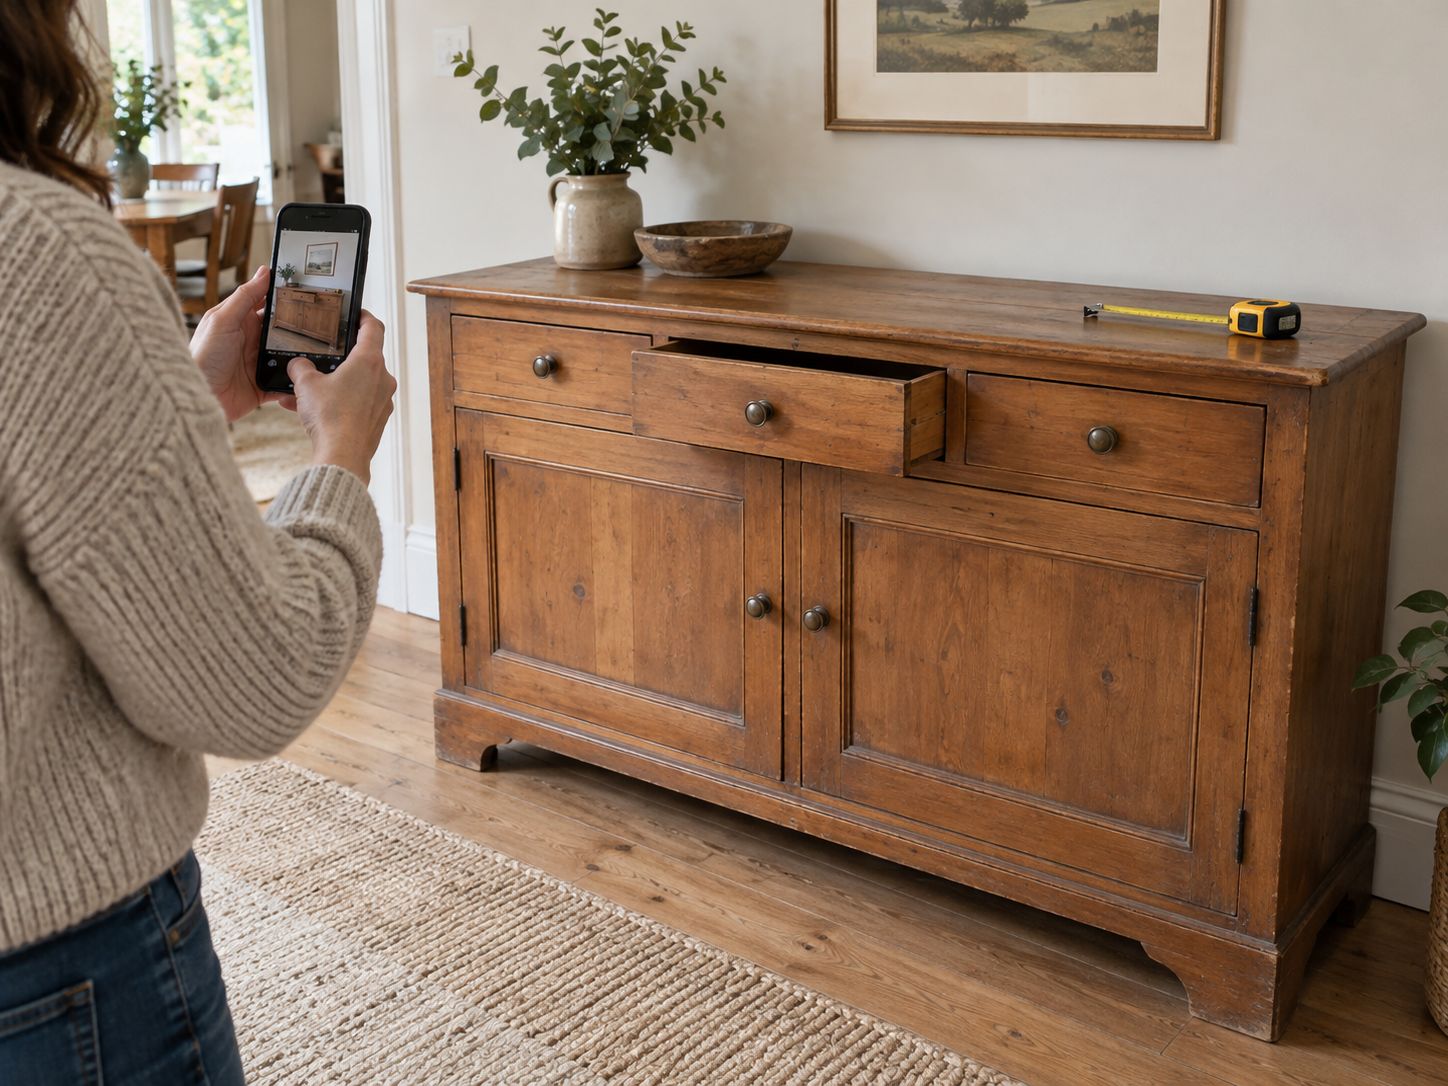
Furniture Respraying Quotes: Which Photos and Measurements to Send
A photograph of the front of a sideboard is a useful start, but it leaves several questions unanswered. How large is it? Which surfaces should change? Are there loose joints or worn edges outside the frame? A furniture respray enquiry is easier to assess when the photographs and a short written description tell the same story.
This guide explains what to send for a furniture respray quote, using a six-part photo and measurement sequence. If you are still exploring the service itself, our guide to refinishing existing furniture provides the broader background. Here, the aim is to describe your particular piece clearly enough for the next conversation.
Show the furniture as it is now
Use clear, unfiltered photographs in good light. Include the whole item before moving closer to details, and check that each image is sharp enough to inspect. Give the piece a simple name, such as “hall sideboard”, and use it in the photo captions. If you are enquiring about several similar pieces, identify each one separately and give the total quantity.
Photographs support an initial assessment; they do not establish the material, condition or suitability of every hidden surface. Write “unknown” where necessary. Further questions, inspection or testing may be needed before the scope and quotation can be confirmed.
The six parts of a useful furniture enquiry
The whole piece, from more than one angle
Start with a straight-on photograph showing the full front, including the top and legs. Add a view from each side. Leave enough space around the piece for its outline to be visible; an attractive close crop can conceal an overhanging top or decorative feet.
For a set of chairs, show the complete set as well as an individual chair. Caption the images with the item name and viewpoint: “hall sideboard — front” is more helpful than a group of unnamed photographs.
The back, interior and accessible fittings
Include the rear if it is safely accessible, then show the inside with doors or drawers open. Photograph hinges, handles and other fittings that affect the proposed work. State whether the furniture is freestanding, fixed to a wall or joined to adjacent units.
Do not move a heavy piece or dismantle unfamiliar fittings solely to obtain a picture. Explain any areas you cannot show. If doors, shelves or legs are already removable, say so; agree who will remove and refit components before work is arranged.
Wear, damage and the existing finish
Take one wider photograph locating each problem and a second close-up showing it. Useful details include chipped corners, scratches, peeling areas, swollen edges and gaps at joints. Describe what you have noticed, such as a drawer that catches or a leg that feels loose, without trying to diagnose the cause.
Include any reliable information about previous painting, polishing or repairs. An existing label or purchase specification can help, but do not guess that a wood-effect surface is solid timber. Ask which repair needs can be assessed within the proposed finishing work.
Width, height and depth with clear units
Write the overall width, height and depth, stating the units for every set of measurements. Say whether your figures include handles, an overhanging top or projecting feet. A simple labelled sketch can clarify an unusual shape more easily than several numbers in an email.
For example, “overall width 1200 mm, height 800 mm, depth 450 mm including handles” is unambiguous. These are illustrative dimensions, not a workshop requirement. Mark approximate measurements as approximate, and ask whether separate component measurements are needed for assessment.
The surfaces and result you have in mind
Separate the furniture you own from the finish you would like. List the surfaces to be considered: top, external sides, door fronts, drawer fronts, legs and internal areas. State explicitly if the inside or rear should remain unchanged. This avoids treating “paint the sideboard” as a complete description.
Add your intended colour reference or an inspiration image, and explain which feature you like. A photograph communicates direction rather than an approved colour standard. Mention any handles you hope to retain or replace, leaving the practical implications for discussion.
Location, access and arrangements to confirm
Give the location or postcode area and describe relevant access: floor level, stairs, lift availability and any known narrow doorway or turn. Mention a required completion date as a request, so availability can be discussed. Keep these notes separate from the furniture dimensions.
Our article on studio spraying compared with on-site painting explains the workshop context. For your enquiry, ask how transport, dismantling and refitting would be handled. Collection or installation should be confirmed for the individual project rather than assumed to be included.
An example enquiry you can adapt
Illustrative enquiry: “I would like to discuss respraying one freestanding hall sideboard. It measures 1200 mm wide, 800 mm high and 450 mm deep including handles. I would like the top, outer sides and door fronts painted, with the interior unchanged. The material and old finish are unknown. Photos show the whole piece, rear, interior and a chipped front corner; the left door also catches. It is on the ground floor in the DA8 area. Please advise what further information you need and whether transport and any repair work can form part of the proposed scope.”
Replace the example with your own details and attach the corresponding photographs. Spraybox offers furniture refinishing; email your enquiry to sales@spraybox.co.uk to discuss the piece, the intended result and what needs to be checked before a quotation is agreed.